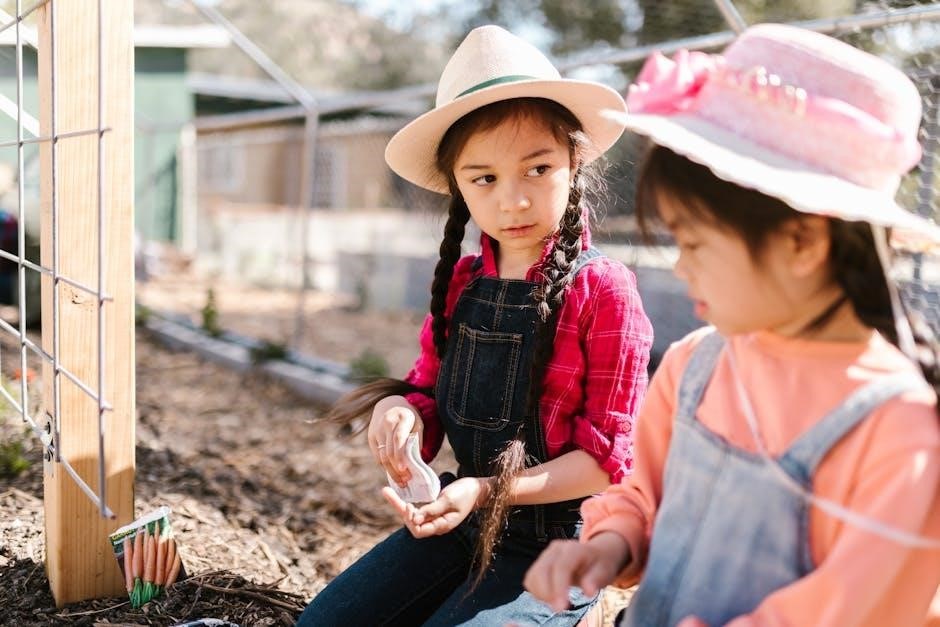
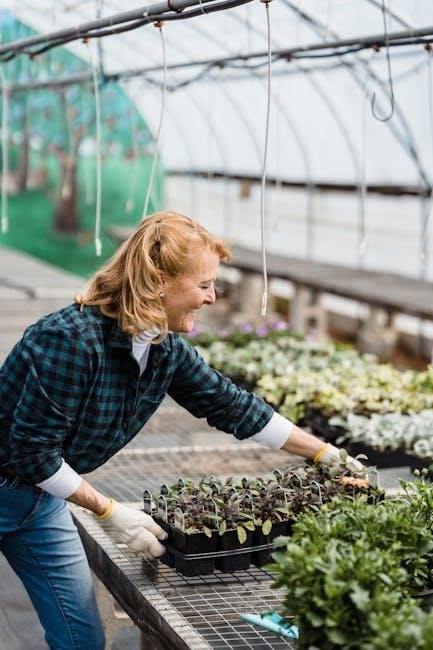
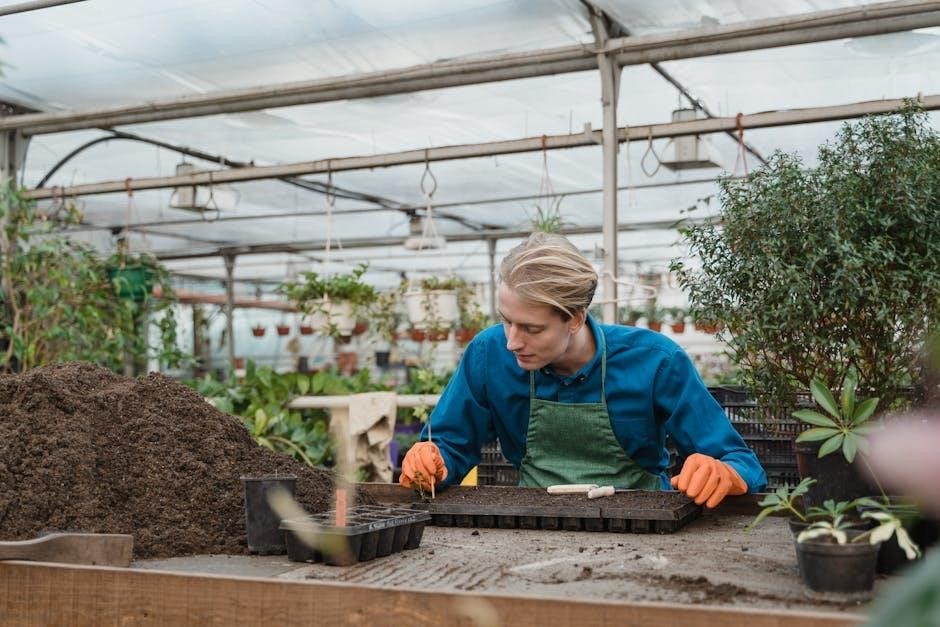
The Jiffy Seed Starting Greenhouse Kit is a compact, portable solution for starting seeds indoors, providing an ideal environment for germination and early plant growth with its innovative peat pellet system.
Benefits of Using the Jiffy Seed Starting Greenhouse Kit
The Jiffy Seed Starting Greenhouse Kit offers numerous advantages for gardeners, making it an ideal choice for starting seeds indoors. Its compact and portable design allows for easy use in small spaces, such as apartments or windowsills, while providing a controlled environment for optimal germination. The peat pellets expand easily with water, creating a perfect medium for seed growth and minimizing transplant shock. The included humidity dome helps maintain consistent moisture and warmth, key factors for successful germination. This kit is also reusable, making it a cost-effective and sustainable option for gardeners. It’s user-friendly, suitable for both beginners and experienced gardeners, and allows for an early start on the growing season. By using the Jiffy kit, gardeners can ensure healthy seedlings and a strong foundation for their plants.
Materials Needed for the Jiffy Seed Starting Greenhouse Kit
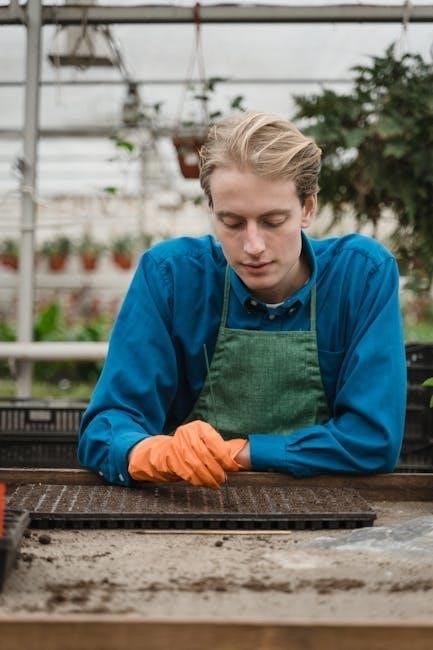
To successfully use the Jiffy Seed Starting Greenhouse Kit, you’ll need a few essential materials. The kit itself typically includes a watertight base tray, a set of peat pellets, and a clear plastic humidity dome. Additional items you may need include seeds of your choice, lukewarm or warm water for hydrating the pellets, and plant markers to label your seedlings. A fork or chopsticks can be helpful for gently fluffing the peat, and paper towels or a cloth are useful for cleaning up spills. Optional items include smaller plant labels or tape for marking seeds under the humidity dome. Ensure all materials are ready before starting to streamline the process. These components work together to create a self-contained, efficient system for starting seeds indoors.
Preparing the Jiffy Seed Starting Greenhouse Kit
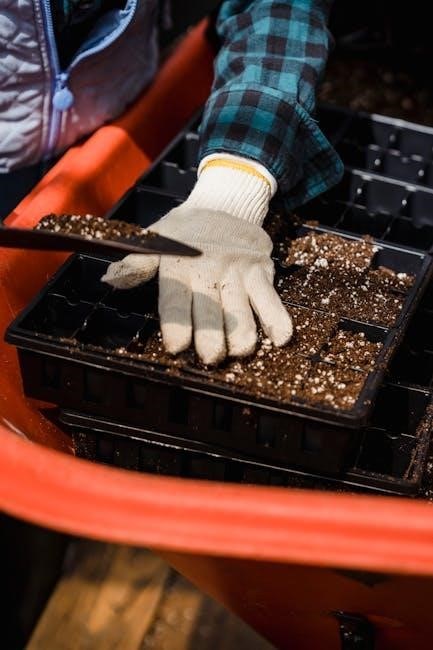
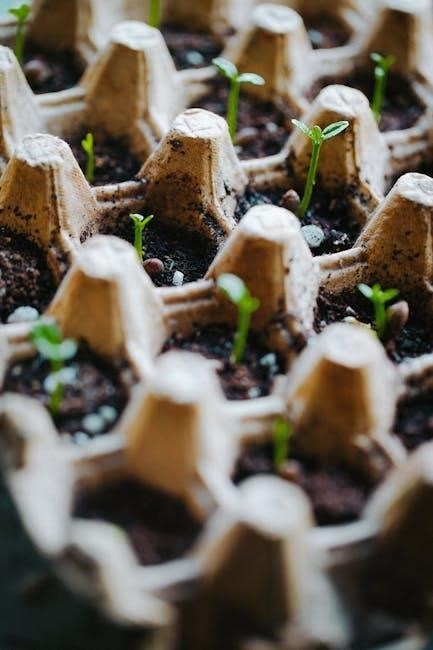
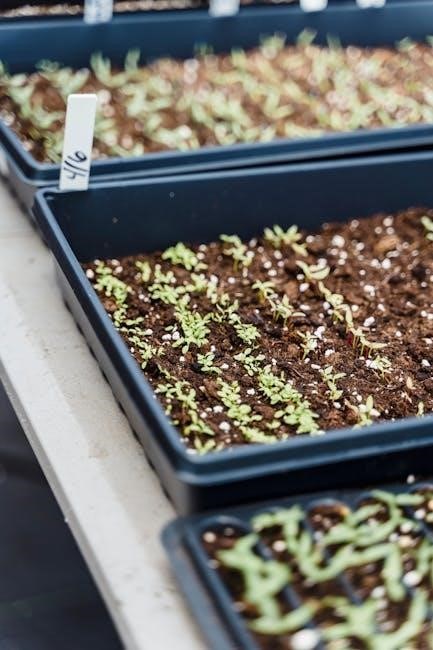
Before using the Jiffy Seed Starting Greenhouse Kit, ensure all components are properly prepared. Start by removing the kit from its packaging and separating the base tray, peat pellets, and humidity dome. Place the peat pellets in the base tray, ensuring they fit securely in their slots. If the pellets stick to the tray slots while absorbing water, gently work them free with your fingers. Next, label the sections of the tray with plant markers to keep track of different seeds. Lightly mist the pellets with water to prepare them for hydration. The kit is reusable, so wash and dry all parts thoroughly before reusing. Proper preparation ensures a smooth and efficient seed-starting process. With everything in place, you’re ready to begin hydrating the pellets and sowing your seeds.
Step-by-Step Instructions for Using the Jiffy Seed Starting Greenhouse Kit
The Jiffy Seed Starting Greenhouse Kit simplifies indoor seed starting with a structured process: hydrate peat pellets, sow seeds, apply the humidity dome, maintain conditions, and transplant seedlings.
Step 1: Hydrating the Peat Pellets
Begin by adding lukewarm or warm water to the base tray of the Jiffy Greenhouse Kit. Allow the peat pellets to absorb the water and expand, which typically takes a few minutes. Ensure the pellets are fully saturated but not soggy. If excess water remains in the tray after expansion, carefully pour it out. Gently press down on the pellets to help them absorb evenly. If any pellets float, submerge them lightly with your fingers or a fork. Once expanded, the netting on top of the pellets will naturally loosen. Use your fingers or a tool to gently tear the netting open further, creating space for sowing seeds. Avoid tearing too much, as the netting helps hold the pellet together for transplanting later. The peat should be moist and loose on the surface, ready for seed placement.
Step 2: Sowing the Seeds
Once the peat pellets are hydrated and the netting is opened, it’s time to sow your seeds. Follow the instructions on your seed packet for specific planting depths, as some seeds require light covering while others should remain on the surface. Place one or two seeds in the center of each pellet, depending on the seed size and your preference. Lightly cover the seeds with the fluffed peat if needed. For better organization, label each pellet or section of the tray to keep track of the different seeds planted. After sowing, gently mist the pellets with water to settle the seeds and ensure good contact with the peat. This step ensures proper germination conditions and prepares the seeds for the next phase of growth under the humidity dome.
Step 3: Using the Humidity Dome
After sowing your seeds, place the clear plastic humidity dome on top of the watertight base tray. The dome helps maintain moisture and warmth, creating an ideal environment for germination. It is not airtight, so some air circulation is normal. You’ll start to see condensation on the dome’s surface, which is a sign that the system is working effectively. Keep the dome on until the first leaves (cotyledons) appear on the seedlings. Once seeds begin to sprout, you can open the dome slightly to allow air circulation. Remove the dome completely when all seeds have germinated to prevent overhumidification, which can harm the seedlings. Store the dome under the tray until needed again. This step ensures optimal conditions for seed germination while protecting young seedlings from drying out.
Step 4: Maintaining Optimal Growing Conditions
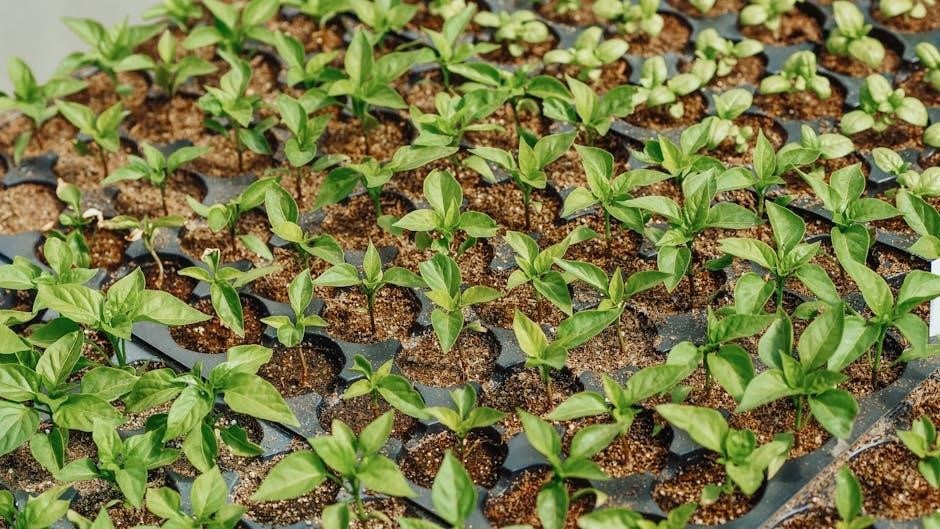
Once the seeds are sown and the humidity dome is in place, monitor the greenhouse daily to ensure optimal growing conditions. Check the moisture levels by inspecting the peat pellets; they should remain damp but not soggy. If excess water collects in the base tray, carefully pour it out. Maintain a consistent temperature between 70-80°F (21-27°C) for most seeds, as specified on the seed packet. Place the greenhouse near a bright, indirect light source but avoid direct sunlight, which can overheat the dome. After germination, remove the humidity dome to allow air circulation, which strengthens seedlings. Keep the peat pellets moist but not waterlogged to promote healthy root development. Lightly mist the pellets with water as needed. Proper care during this stage ensures robust seedling growth before transplanting.
Step 5: Transplanting Seedlings
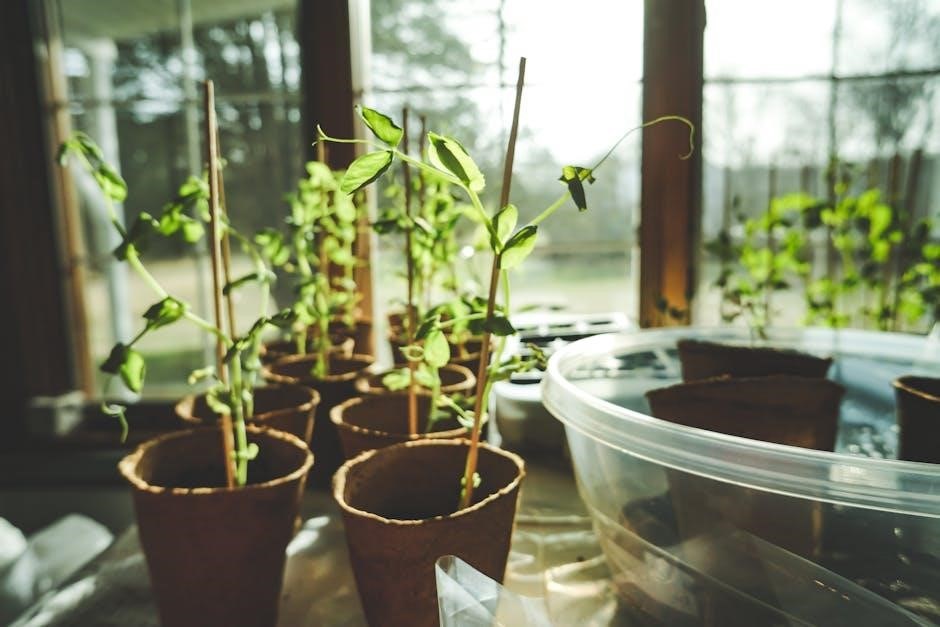
Once seedlings have 2-3 sets of leaves, they are ready for transplanting. Harden off seedlings by gradually exposing them to outdoor conditions over 7-10 days. Dig a hole in well-prepared soil, ensuring it is the same depth as the peat pellet. Gently remove the seedling from the tray, taking care not to disturb the roots. If the pellet is dry, lightly moisten it for easier handling. Place the pellet and seedling in the hole, covering with soil and firming gently. Water thoroughly to settle the soil. If the pellet extends above the soil surface, trim it to prevent drying out. Keep the soil consistently moist during the first week after transplanting to support establishment. This method minimizes root disturbance, promoting healthy growth and a successful transition to the garden.
Best Practices for Successful Seed Starting
Maintaining consistent moisture, providing proper light, and avoiding overwatering are key. Harden off seedlings gradually and use plant markers for organization. Tools like forks help handle delicate roots without damage.
Tips for Ensuring Maximum Germination Rates
For optimal germination, use lukewarm water to hydrate peat pellets and avoid overwatering. Gently fluff the peat surface with a fork or fingers to create a loose, moist environment. Sow seeds at depths specified on seed packets, covering lightly to ensure proper contact with the peat. Place the humidity dome to maintain consistent moisture and warmth, removing it once germination begins. Keep the greenhouse in a bright, warm location, ideally between 65-75°F. Avoid direct sunlight to prevent overheating. Label each pellet with plant markers to track progress and prevent mix-ups. Maintain cleanliness by washing hands and tools before handling seeds and pellets. Monitor seedlings daily, ensuring the environment remains moist but not soggy. By following these steps, you can achieve high germination rates and healthy seedling growth;
Common Mistakes to Avoid When Using the Jiffy Greenhouse Kit
When using the Jiffy Greenhouse Kit, avoid common pitfalls to ensure successful seed starting. Overwatering is a frequent mistake, as soggy peat can lead to mold and poor germination. Ensure pellets are moist but not waterlogged, and drain excess water after hydration. Another error is failing to label pellets, making it difficult to track seed varieties. Always use plant markers or tape to identify each pellet. Avoid leaving the humidity dome on too long, as it can hinder air circulation once seeds sprout. Additionally, using cold water can slow germination, so opt for lukewarm or warm water. Lastly, neglecting to clean the kit before reuse can introduce pests or diseases. By avoiding these mistakes, you can maximize the effectiveness of your Jiffy Greenhouse Kit and achieve healthier seedlings.
Caring for Seedlings After Germination
After germination, proper care is essential for healthy seedling growth. Once the humidity dome is removed, ensure seedlings receive adequate light, such as indirect sunlight or grow lights. Maintain consistent moisture by gently watering the peat pellets as needed, avoiding overwatering. Fertilize with a balanced, water-soluble fertilizer at half the recommended strength to promote robust growth. Monitor temperature, keeping it between 65-75°F (18-24°C) for most plants. Provide good air circulation to prevent fungal issues. As seedlings grow, consider thinning if overcrowded. Harden off seedlings by gradually exposing them to outdoor conditions before transplanting. Avoid disturbing roots when moving seedlings, as the peat pellet acts as a natural transplant medium. Regularly inspect for pests and diseases, addressing issues promptly. Proper post-germination care ensures strong, healthy seedlings ready for transplantation into larger containers or directly into the garden.
Reusing the Jiffy Greenhouse Kit
The Jiffy Greenhouse Kit is designed to be reusable, making it a cost-effective and eco-friendly option for gardeners. After each use, thoroughly wash the watertight base tray and humidity dome with mild soap and warm water to remove any residue or debris. Rinse thoroughly and allow the components to dry completely before storing or reusing. The peat pellets themselves are not reusable, but the tray and dome can be used multiple times with fresh pellets. Over time, inspect the tray and dome for wear and tear, replacing them if necessary. Proper care and storage ensure the kit remains functional for future gardening projects, making it a practical investment for starting seeds year after year.